|
New Address Wizard |
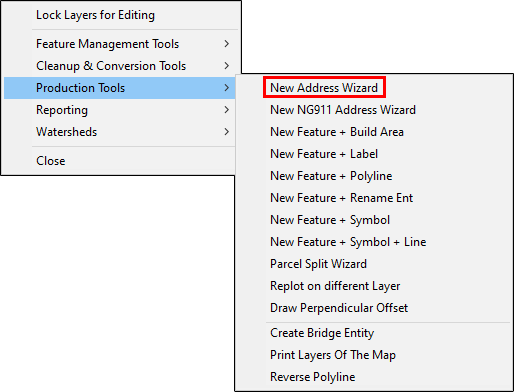
Use this tool, located on Tools Menu > Show Map Editing Tools > Advanced Tools > Production Tools, to automate the process of determining the address for a new structure and placing the new address point on the map. Think GIS calculates the new address based on nearby point addresses on the same road.
1) Lock the address layer for editing, zoom to the location of the new structure, and then select this tool from the Production Tools menu.
2) Using the cross hairs click on the location where the new structure is to be located.
3) Using the cross hairs again, click on the road at the point where the structure is to be addressed from. This will typically be the point where the driveway will meet the road.
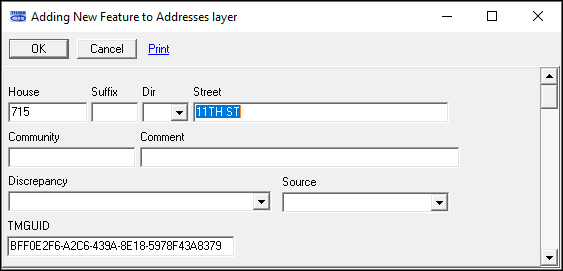
4) A new address form is next displayed with the address fields completed. Add any additional information, or just click OK to finish.
5) The new address point will now be placed on the map.
Notes:
•The New Address Wizard calculates the house number of the new address based on one or more of the following types of information:
oAddress Range Layer: If an address range polyline exists on the road near point (B) then the house number will be calculated based on the address range feature.
oAddress Points: If existing address points are found on the same road then one or two of them may be used to calculate the new house number.
oIntersections: Rural roads named using the Purdue Grid System or other similar addressing system can sometimes be used to determine a reference point used to calculate a new address.
•See also Address Calculation Tool.
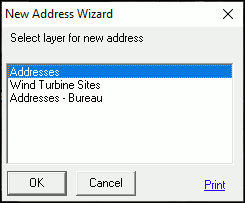
•If multiple address point layers exist on the map then Think GIS will prompt the users to specify which layer the new address should go on. The prompt box that will pop up is exampled in the image below:
•If there is no address range layer, the wizard will only use the address points. If there are no address points on the selected side of the centerline, the wizard will prompt the user to confirm the reference addresses with the following popup:
.png)
oTo change a reference point, select the desired point from the list, click OK, and then follow the instructions in the Instructional Bar.
•Tool use instructions will also appear in the footer of the Think GIS window in the Instructional Bar.
|
Copyright © 2026 WTH Technology |
.png)
.png)
.png)