|
Pick List (Advanced) |
Setup:
The setup for the Pick List (Advanced) is exactly like the Pick List (Basic) setup; however, since the Advanced version restricts users from manually inputting values that do not appear in the pick list, it carries some checks that do not exist in the basic version. See Rebuild Pick List to review possible errors and solutions.
New Layer:
When setting up a field in a new layer, the Pick List must be built manually.
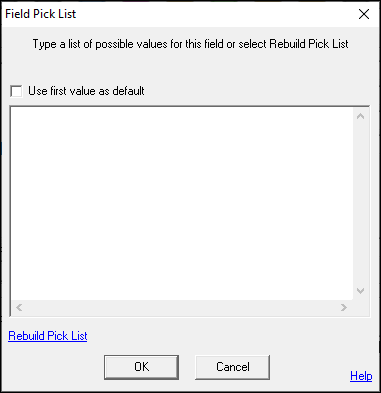
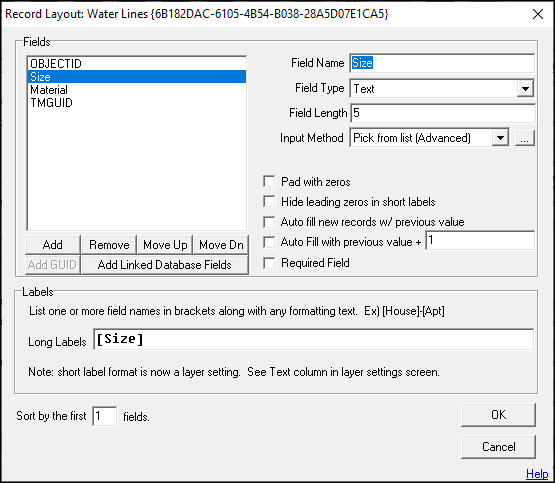
1) In the Layer Format, select the desired field, and then select Pick List (Advanced) from the Input Method drop-down menu.
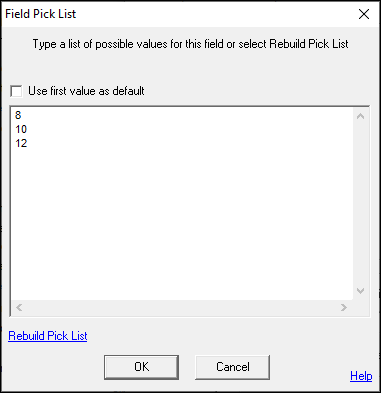
2) In the pop-up window, manually type in the desired values. The Enter key will act as a character return. Click OK when done.
Click on the interactive image below for more information.
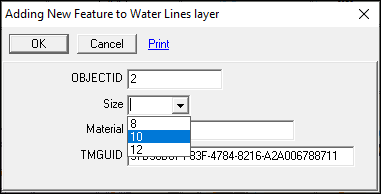
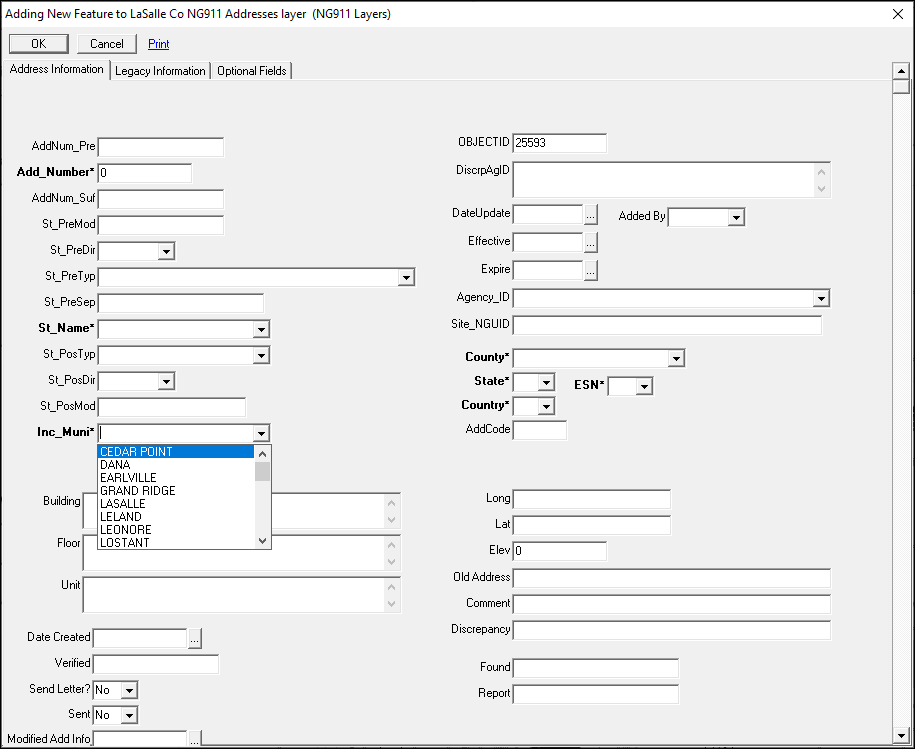
3) When creating a New Feature in the layer, that field will have a drop-down menu with values created by the user.
Existing Layer:
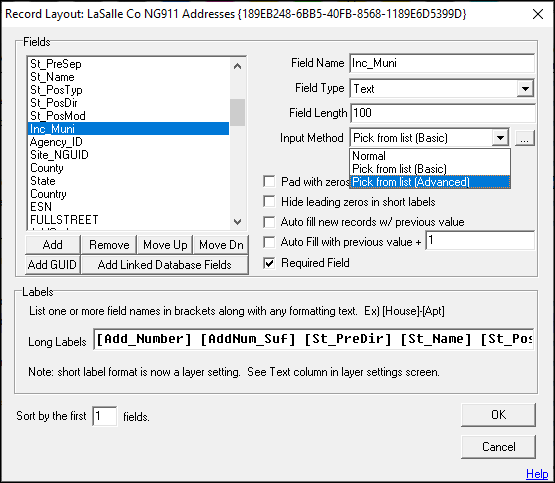
1) In the Layer Format for the existing layer, select the desired field, and then select Pick List (Advanced) from the Input Method drop-down menu.
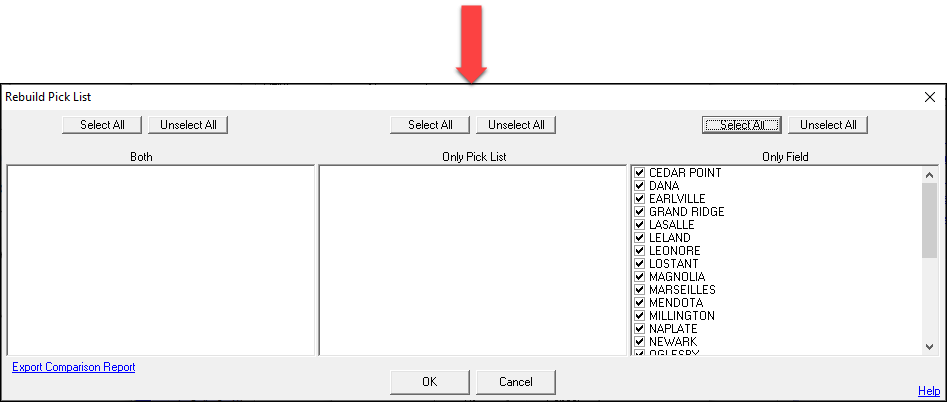
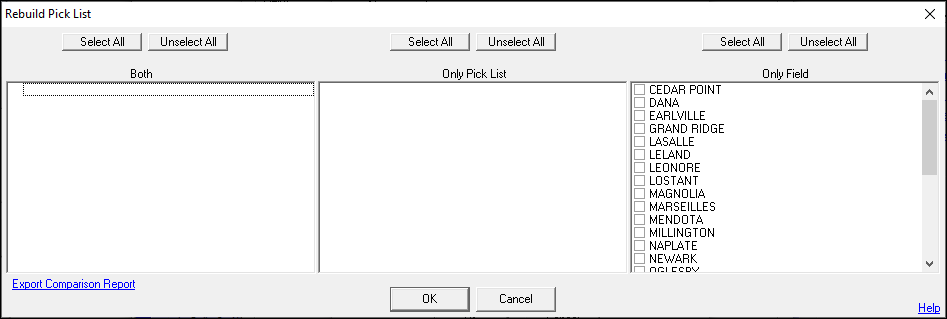
2) Since an existing layer already has features that have values populated, instead of manually entering the values, click on Rebuild Pick List.
Click on the interactive image below for more information.
3) The right-hand side window will display all existing field values in the layer. Select the ones to be added to the Pick List. To use all of them, click the Select All button above the Only Field window, then click OK.
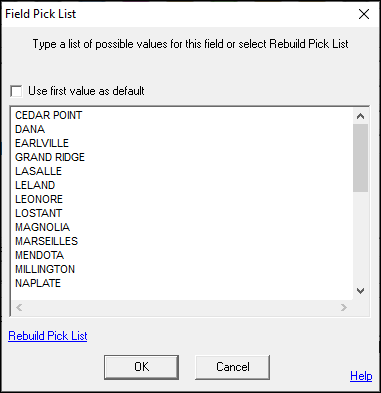
4) The selected values will now appear in the Pick List setup window. Click OK on the setup window to confirm the changes.
Click on the interactive image below for more information.
5) When creating a New Feature in the layer, that field will have a drop-down menu with values created by the user.
|
Copyright © 2026 WTH Technology |